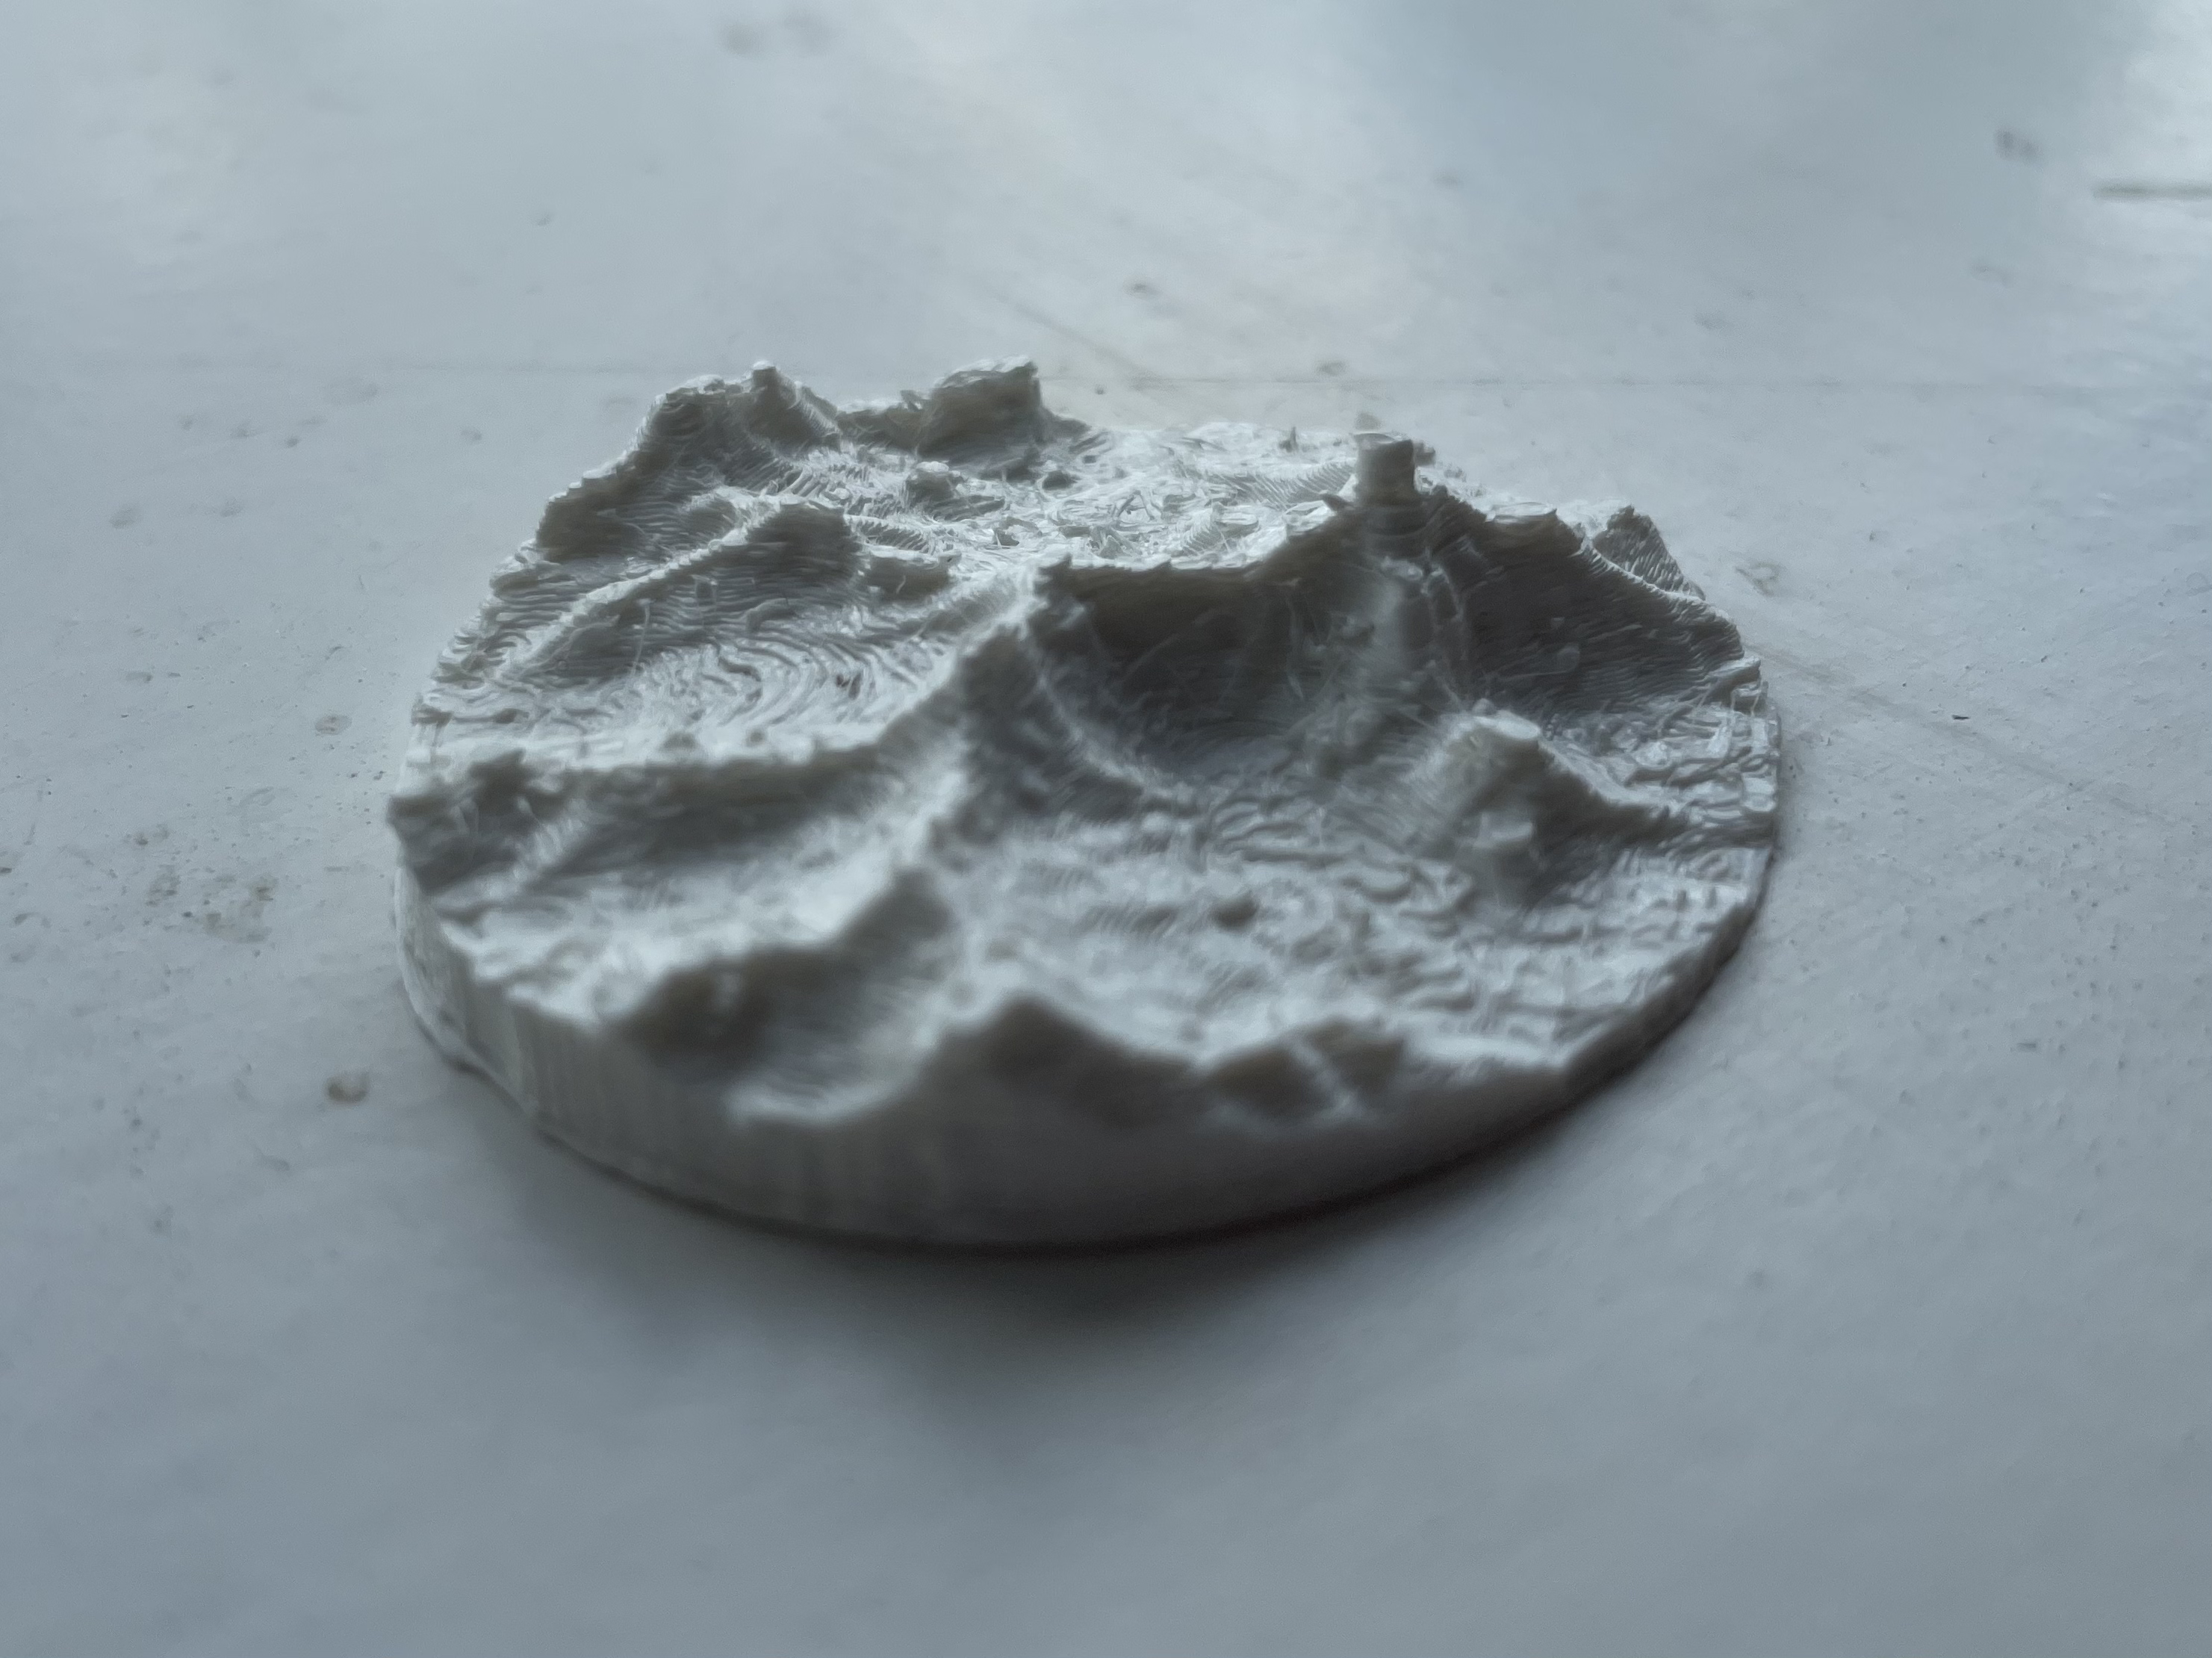
I started off this week with my first print on the department 3D printers. Michael and I wanted to see how the files from the previous week would look when physically printed, so we tested it on a highly scaled down version of Mount Everest. This is what the result looked like after about 40 minutes of printing followed by a quick cleanup of the various wispy tendrils. I am overall very happy with how it looks; however, I think it will look even better and more detailed when we start doing larger prints in the future.
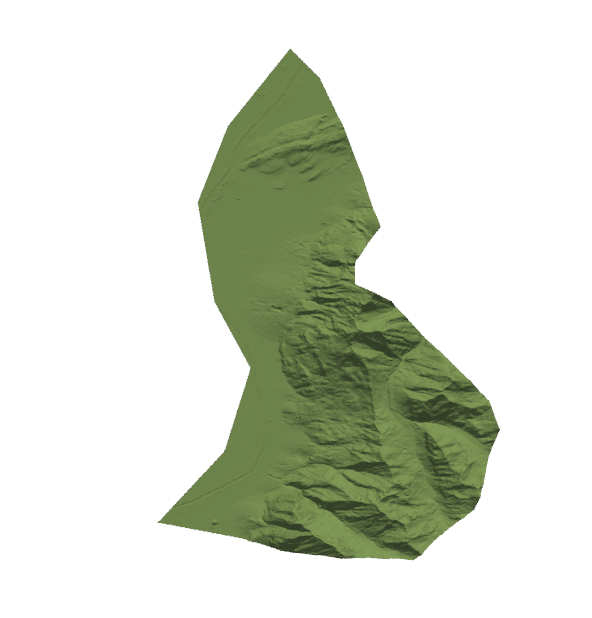
This demonstrated that at a scale roughly the size of a mountain, the code performed well. The problem, however, was that on smaller scales you could barely see any detail at all and when attempting to generate the terrain for an entire country the code would simply crash or if I was lucky, I would be sat waiting for hours (unless it were somewhere tiny like Liechtenstein!).
The problem was that even after hours of waiting, the output would still be rather lacklustre in terms of detail. This is because, if I ever wanted to actually print the file, I would have to compress the number of vertices to the fraction of the amount it was created in. The simple solution to this was to have a different dataset which had been pre-processed to decrease its size to the point it was feasible for me to generate a mesh for the entire planet in one go!

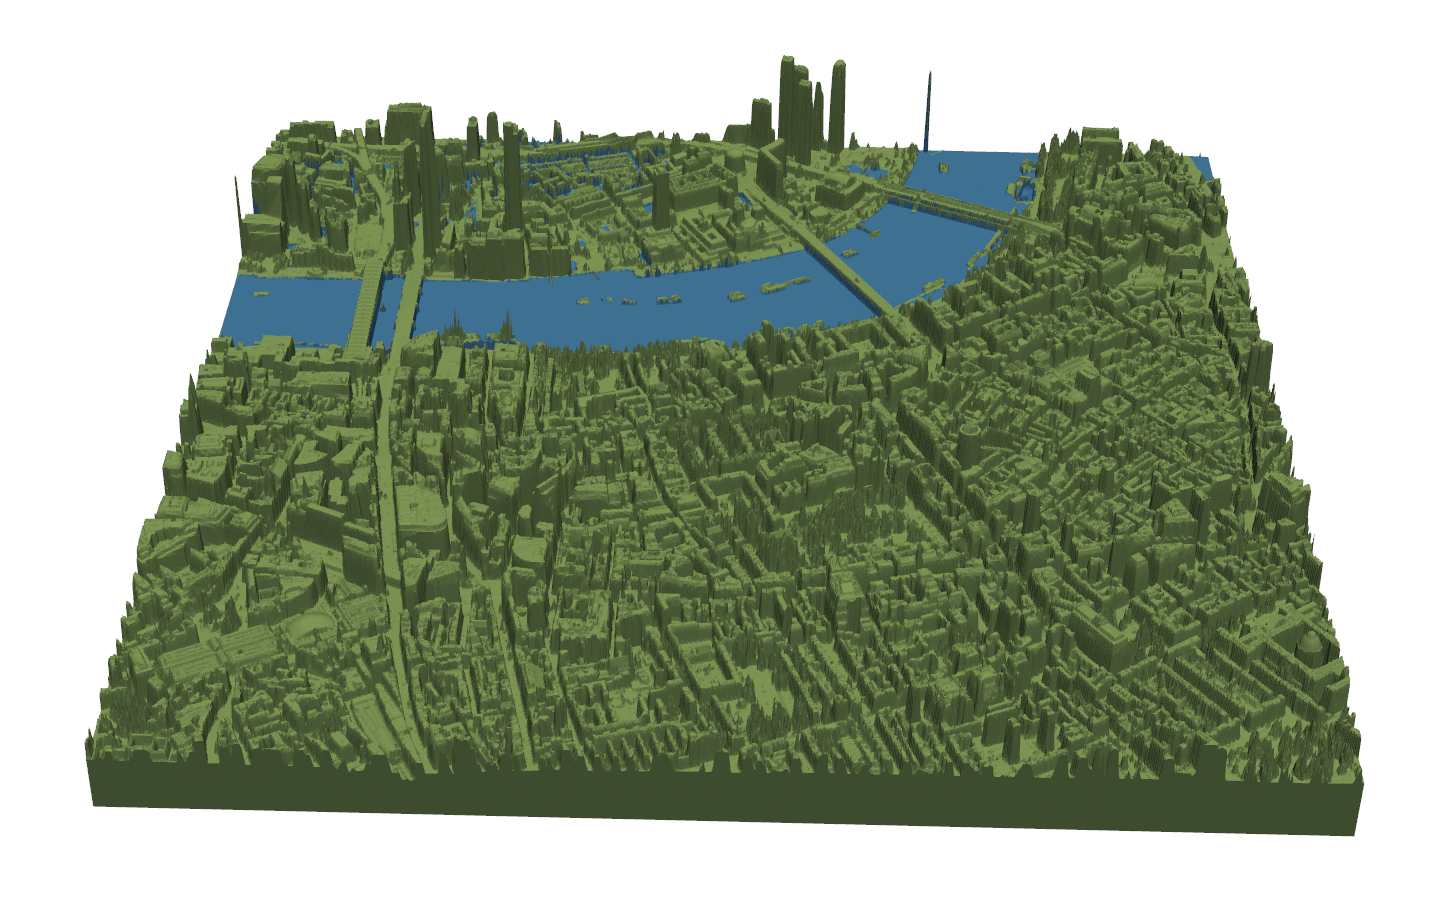
Going from one extreme to the next, I was inspired by Mark Elvers’s week notes to try and generate some highly detailed meshes for cities. Using the Department of Environment LIDAR DSM data, I was able to automatically generate a scale model of parts of Central London just by adding the data to my code. My goal for next week is to 3D print some of these city-meshes and see just how much detail the department printers can get out of them!